How to install your Hitron CODA 5712 wireless cable modem and set up your Wi-Fi network
This article guides you through how to install your Hitron CODA 5712 wireless modem and set up your Wi-Fi network for your Cable Internet service.
- The package containing your modem
- A computer with an ethernet port or a device that can connect wirelessly
Step 1: Unpack your modem
Unpack the contents of your package and make sure you have the following:
-
Hitron CODA 5712 wireless cable modem

-
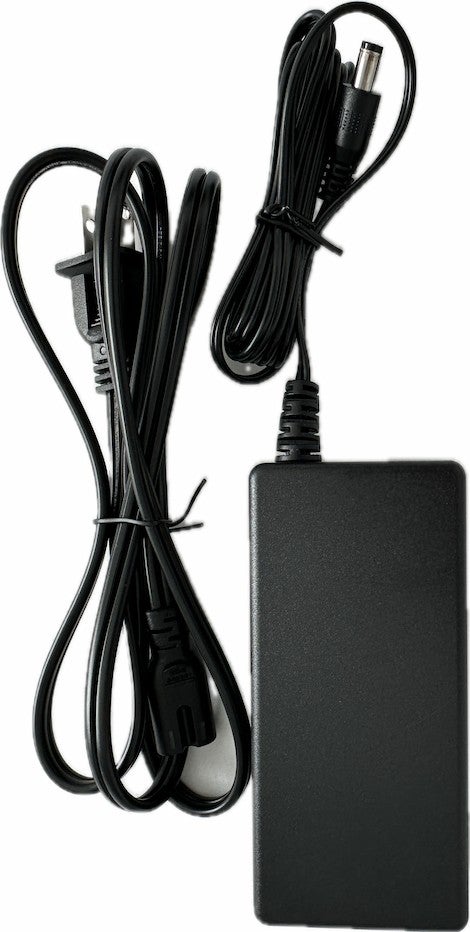
Power cord
-
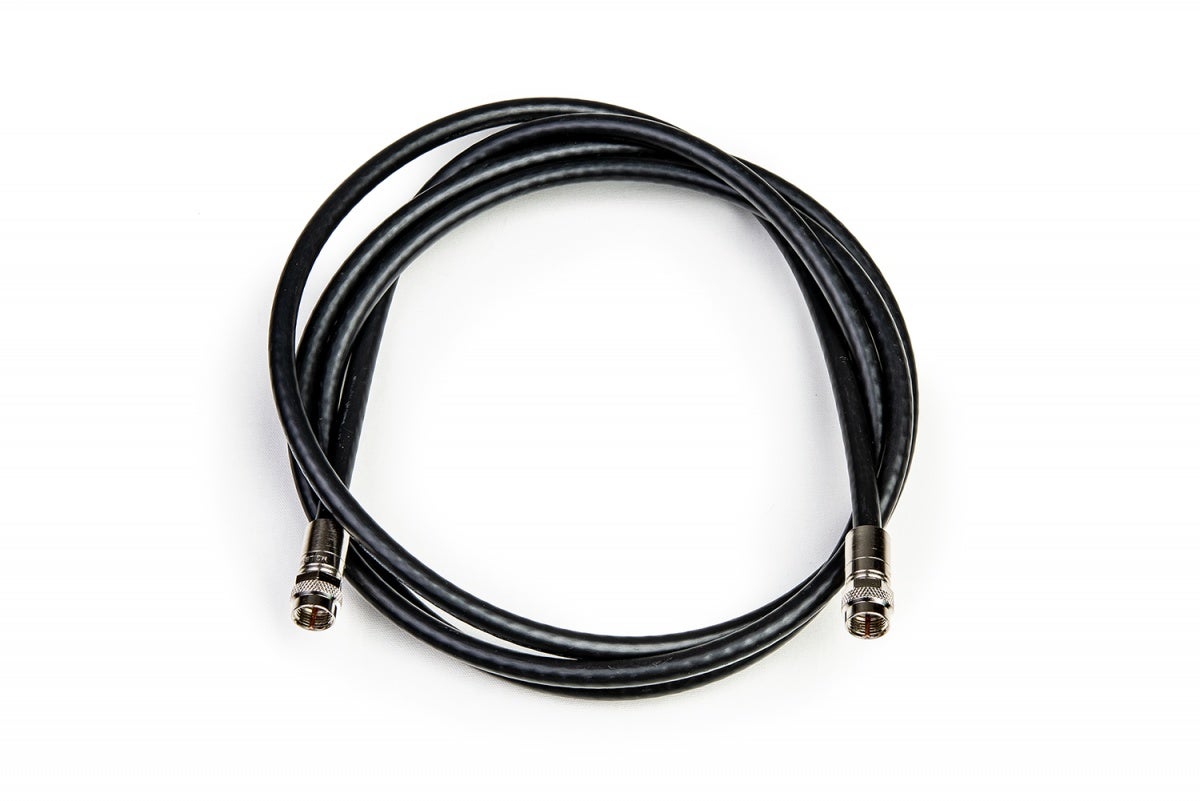
Coaxial cable
-
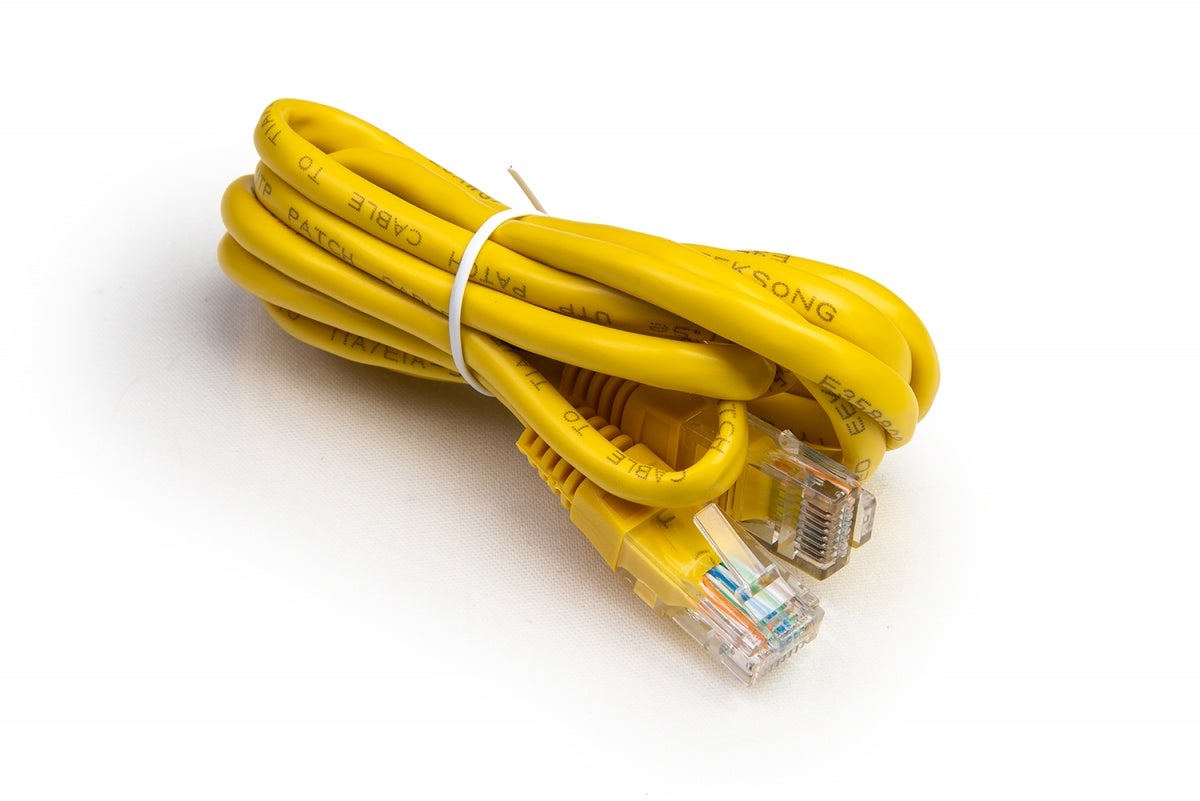
Ethernet cable
-
Quick start guide

Step 2: Connect your modem
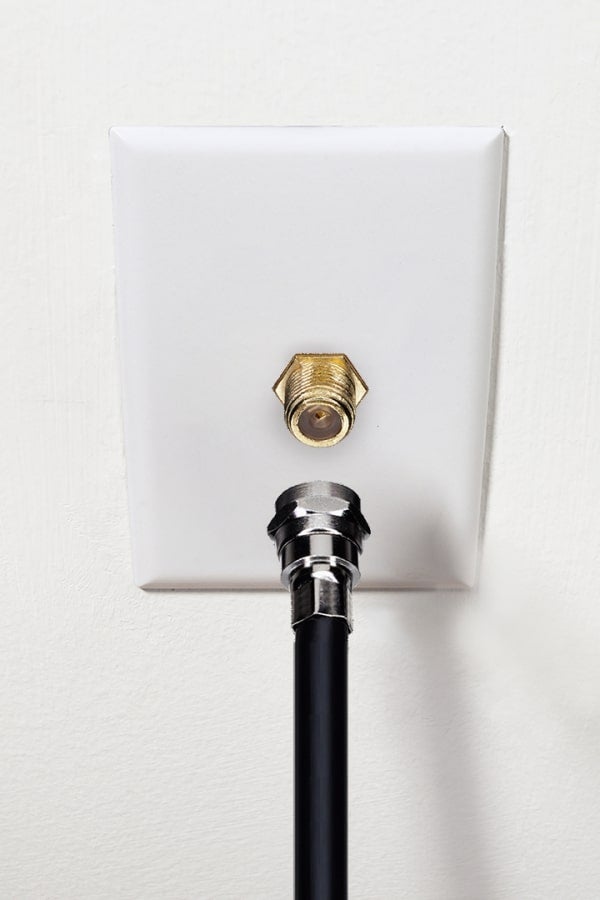
Connect one end of the coaxial cable to the cable connector at the back of the modem, and then connect the other end to the active cable wall outlet. Make sure the cable is securely connected at both ends.

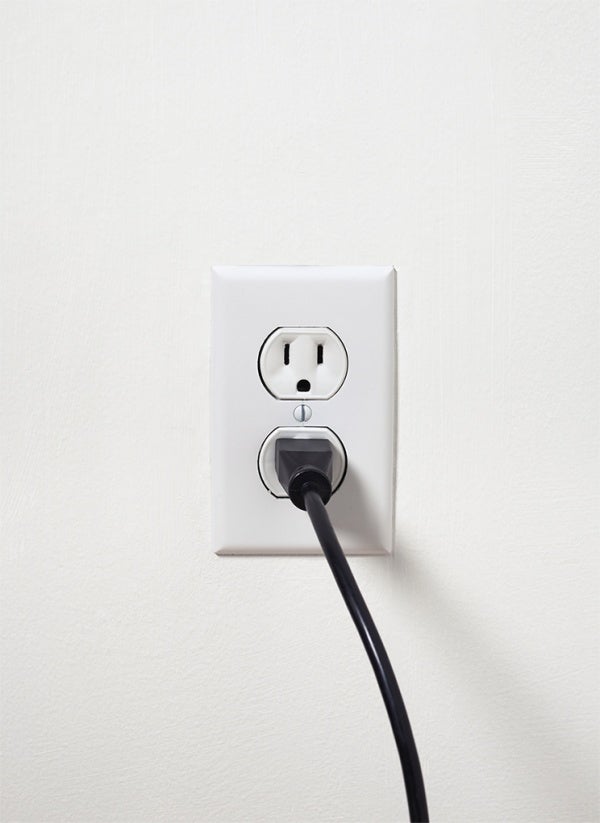
Plug the power cord into the modem and plug the other end to a working electrical outlet.
Note Because of regional power outages, we suggest using a surge protector or an uninterrupted power supply (UPS) to prevent or minimize any damage to your equipment or disruption in service.
Step 3: Confirm your modem is online and ready
Allow up to 15 minutes for the modem to power up and come online and then check the lights on the front of the modem.
When your modem is online and ready, the LED light on the front should stop blinking and stay white.

To learn more about the indicator lights on the modem and what they mean, see the Quick Start Guide.
You have two options. You can connect by using a wireless connection or a wired connection.
Use a wireless connection
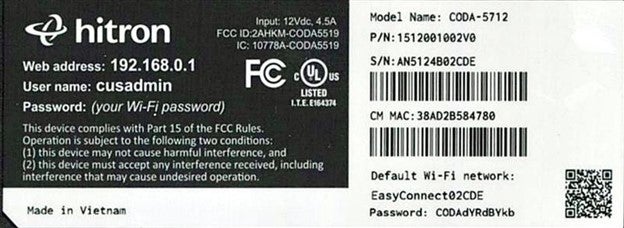
With this option, you connect your device wirelessly using your Default Wi-Fi network name (also called an SSID) and password. You'll find this information on a sticker on the bottom of your modem.
In the Wi-Fi settings on your computer or device, select the name of your Wi-Fi network, and then enter your password.
Note: If you don’t know where to find the Wi-Fi settings, see the documentation for your device.
Use a wired connection
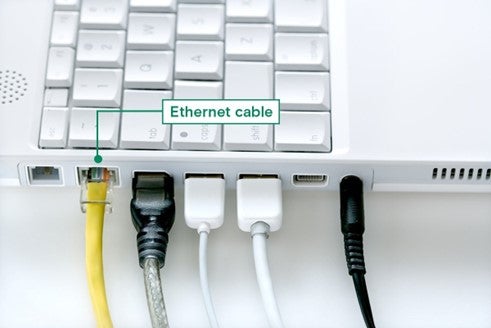
With this option, you connect your computer directly to the modem. To do this, connect one end of the ethernet cable to the ethernet port on your computer, and then connect the other end to the ethernet port on the back of the modem.
- The Easy Connect user interface will automatically launch after connecting a device to the network. Click Let’s go.
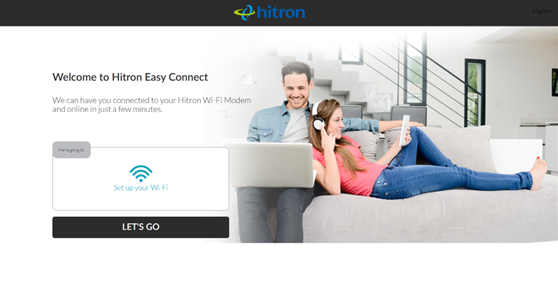
Note: If it didn’t launch, in a web browser, type 192.168.0.1 in the address bar, and then press the Enter key on your device.
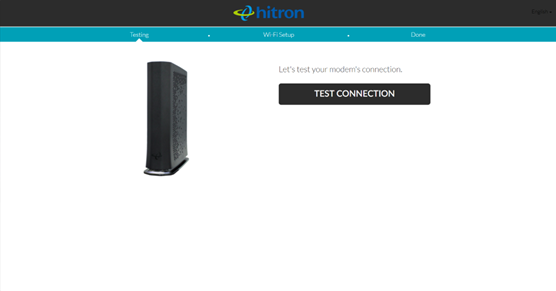
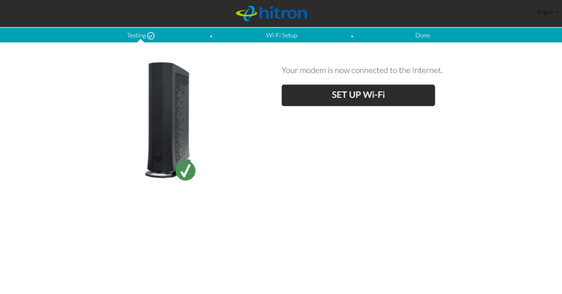
- Test your connection then setup Wi-Fi after it is confirmed that the modem is connected to the internet.
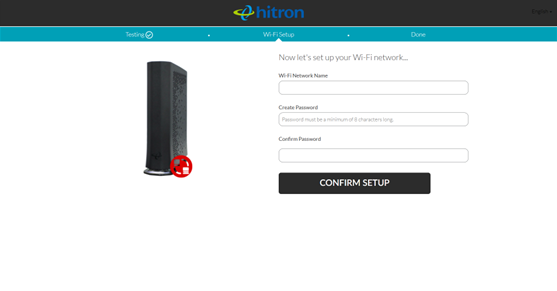
- When prompted, set your Wi-Fi network name and password, then confirm setup.
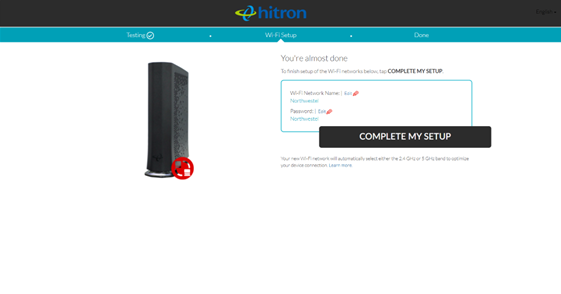
- Review the settings then complete the setup.
Note: If you need to log in to the control panel later to view or change your Wi-Fi settings, visit 192.168.0.1 and use cusadmin as your username and the Wi-Fi passphrase as your password.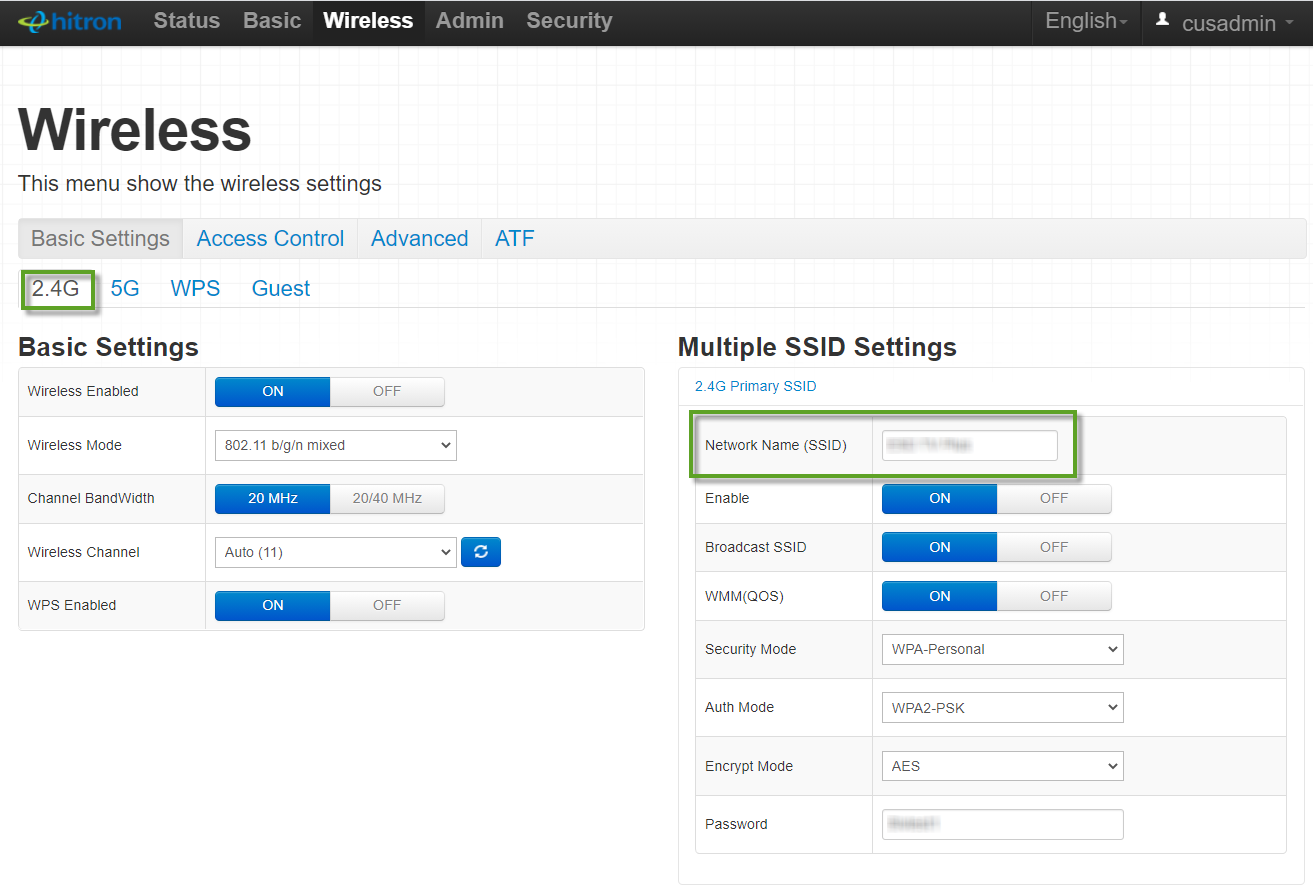
- In the Wi-Fi settings on your computer or device, select the name of your Wi-Fi network.
If you don’t know where to find the Wi-Fi settings, see the documentation for your computer or device. - Enter the Wi-Fi network password that you set.
Note For a wired connection, connect your computer or device directly to your modem by using an ethernet cable. To do this, connect one end of the ethernet cable to the ethernet port on your computer or device, and then connect the other end to the ethernet port on the back of the modem.
Interested in managing your connection with the Northwestel Smart Wi-Fi app? Just follow the steps outlined here: Smart Wi-Fi App Setup Guide - Download & Registration | Northwestel